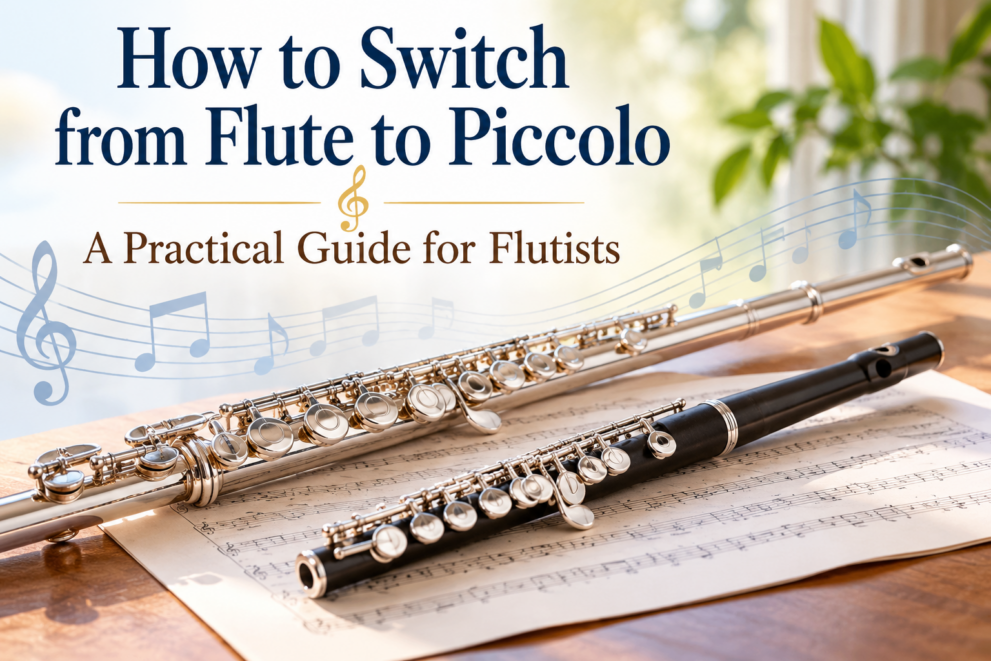
How to Switch from Flute to Piccolo: A Practical Guide for Flutists
If you already play the flute, learning the piccolo might seem like a simple transition. After all, the two instruments share many similarities, and much of the fingering is familiar. However, the piccolo presents unique challenges that require adjustments to your embouchure, air support, intonation, and practice routine.
Whether you’re a middle school band student preparing for your first piccolo part, an intermediate flutist expanding your musical skills, or an experienced player looking to become more comfortable with the instrument, understanding these differences can make the transition much easier.
The good news is that you don’t have to start from scratch. Your existing flute technique gives you a valuable foundation. The key is learning how to adapt that technique to a smaller instrument with a higher register and a different response.
1. Understand the Differences Between Flute and Piccolo
The concert flute and piccolo belong to the same instrument family, but they behave differently when you play them.
The piccolo is considerably smaller than the concert flute and sounds approximately one octave higher than written. Its bright, penetrating tone helps it stand out in concert bands, orchestras, marching bands, and other ensembles.
Because of its small size, the piccolo responds differently to changes in your embouchure and air direction. Small adjustments can have a noticeable effect on pitch, tone quality, and response.
Here are some important differences to understand:
- Size: The piccolo is much smaller, so your hands and fingers must adjust to its compact keywork.
- Register: The piccolo sounds an octave higher than the concert flute when playing the same written note.
- Embouchure: A smaller, more focused opening and precise air direction are often needed to produce a clear, centered tone.
- Intonation: The piccolo can be sensitive to changes in air speed, air direction, temperature, and embouchure.
- Tone color: The piccolo has a naturally bright sound, but it should still sound controlled, warm, and musical rather than consistently shrill.
Understanding these differences helps you approach the piccolo as its own instrument instead of simply treating it as a tiny flute.
For a more detailed introduction, read Piccolo Instrument: An Introduction to This Small but Powerful Instrument.
2. Adjust Your Embouchure
One of the biggest challenges when switching from flute to piccolo is learning to adjust your embouchure.
On the concert flute, you have a relatively large embouchure hole and a longer tube. The piccolo’s smaller dimensions require a more precise relationship between your lips, the air stream, and the instrument.
Many flutists initially make the mistake of tightening their lips too much. This can create a thin, pinched sound and make it harder to control pitch.
Instead, focus on three things:
Keep your lips flexible. Your lips should remain responsive rather than rigid. Avoid squeezing the corners of your mouth or forcing your lips into an excessively tight position.
Direct the air carefully. Small changes in the direction of your air stream can make a significant difference. Experiment gently until you find a position that produces a clear, stable tone.
Avoid excessive tension. Your jaw, lips, and throat should remain relaxed enough to allow the sound to resonate freely.
Begin with comfortable notes in the middle register rather than immediately attempting the highest notes. Listen for a clear sound that starts easily and remains steady.
Remember that the goal isn’t to make your embouchure as small as possible. It’s to find the most efficient position for your particular instrument and your own anatomy.
3. Learn to Control Your Air Support
Your flute experience gives you a head start with breath control, but the piccolo requires a different approach to managing your air.
A common misconception is that playing piccolo means simply blowing harder. In reality, excessive air pressure can make the sound harsh and cause the pitch to rise.
Think instead about using a focused, well-supported air stream.
Try this exercise:
- Begin by playing a comfortable middle-register note on your flute.
- Notice the feeling of your breath support and the direction of your air.
- Switch to the piccolo and play a comfortable note.
- Experiment with a slightly more focused air stream while keeping your body relaxed.
- Listen for a stable pitch and a clear, centered tone.
The goal is to develop control rather than force.
As you become more comfortable, practice sustaining notes at different dynamic levels. Start with a moderate volume, then gradually explore softer playing without losing the clarity of the sound.
This skill is especially important in orchestral and concert band settings, where the piccolo sometimes needs to blend with the ensemble rather than dominate it.
4. Work on Intonation from the Beginning
Intonation is one of the most important skills to develop when learning piccolo.
Because the instrument is small and operates in a high register, slight changes in embouchure and air direction can noticeably affect pitch. Temperature can also influence how the instrument plays.
A note that sounds centered one moment may become sharp when you increase the intensity of your air stream.
Here are some ways to improve your intonation.
Use a tuner
Practice sustained notes with a reliable tuner. Begin with notes that respond easily, and aim to keep the pitch steady rather than constantly correcting it with your lips.
A tuner is useful for identifying tendencies, but don’t stare at it throughout your entire practice session. Listen carefully as well.
Practice long tones
Choose a few comfortable notes and sustain each one for several seconds. Listen for a consistent tone and stable pitch.
Repeat the exercise at different dynamic levels. Notice whether the pitch changes when you play louder or softer.
Use a drone
Playing sustained notes against a drone can help you develop your sense of pitch and hear how your tone relates to another sound.
This is particularly helpful when you begin working on scales and melodic passages.
Warm up the instrument
Piccolos can respond differently as they warm up. Give yourself time to settle into the instrument before making major adjustments to your tuning or embouchure.
If you are consistently sharp or flat, consider your air direction, instrument temperature, and playing setup before assuming that you need to change your entire technique.
For additional reading, explore How to Play the Highest Notes on a Piccolo.
5. Start with Familiar Fingerings, but Check the Details
One advantage of learning piccolo is that much of the fingering is familiar to concert flutists.
You can use your existing knowledge of scales, arpeggios, and basic finger patterns as a starting point. However, you shouldn’t assume that every fingering will behave exactly the same way on both instruments.
Some notes, especially in the upper register, may require alternate fingerings or adjustments for reliable response and intonation. The appropriate fingering can also depend on the instrument and musical context.
Start by reviewing the scales you already know on flute. Play them slowly on piccolo, paying attention to clean transitions between notes.
Don’t sacrifice sound quality for speed. A scale played slowly with accurate notes and a centered tone is more valuable than a fast scale full of unevenness.
Keep a fingering chart nearby as a reference. The Piccolo Fingering Chart on The Country Flutist can be a helpful resource as you become familiar with the instrument.
6. Build a Piccolo Practice Routine
You don’t need to spend hours on piccolo every day to make progress. A short, consistent practice routine can help you develop control without becoming fatigued.
If you’re new to the instrument, try this 15-minute routine as a starting point.
Minutes 1–3: Comfortable long tones
Play several notes in the middle register. Focus on a clear sound, steady pitch, and relaxed embouchure.
Minutes 4–6: Simple scales
Choose one familiar major scale. Play it slowly, concentrating on even fingers and consistent tone.
Minutes 7–10: Intonation practice
Use a tuner or drone to practice sustained notes. Notice how your pitch responds to small changes in air direction and dynamics.
Minutes 11–13: Short musical phrases
Choose a simple melody or a short passage from your band music. Focus on phrasing, articulation, and smooth transitions between notes.
Minutes 14–15: Review and reflect
Finish with a comfortable passage. Ask yourself what improved during the session and what needs more attention next time.
This is a starting point, not a strict rule. Beginners may need shorter sessions, while experienced players may benefit from longer practice periods.
If your lips become tired, your tone deteriorates, or you begin forcing the sound, take a break. Quality and consistency matter more than the length of a practice session.
For more ideas, see How Often Should You Practice Flute?.
7. Practice Music That Develops Your Skills
Scales and long tones are essential, but you also need to apply your technique to actual music.
Start with short, manageable passages rather than jumping immediately into demanding orchestral excerpts. Choose music that allows you to focus on tone, rhythm, articulation, and pitch without becoming overwhelmed by technical difficulty.
As you progress, consider working on:
- Simple melodies that help you maintain a steady tone.
- Scale-based exercises that develop finger coordination.
- Articulation exercises that help you produce clean note beginnings.
- Band or orchestral passages that introduce you to the piccolo’s role in an ensemble.
- Excerpts that gradually challenge your range, dynamics, and endurance.
If you’re still developing your concert flute technique, don’t neglect it while learning piccolo. Your flute practice continues to support your overall musicianship and breath control.
You can also explore Fun Intermediate Flute Songs for ideas about choosing music appropriate to your current level.
8. Learn to Blend with an Ensemble
The piccolo often plays an important role in the overall sound of a band or orchestra. Its high register can add brightness, excitement, and definition to a musical passage.
However, playing piccolo well isn’t simply about being heard above everyone else.
In some passages, the piccolo carries a prominent melody. In others, it reinforces the ensemble’s sound or contributes a subtle layer of color.
To develop ensemble awareness, practice listening for the other instruments around you. Pay attention to balance, articulation, dynamics, and phrasing.
When rehearsing with a band or orchestra, ask your director for guidance about when your part should project and when it should blend. The correct balance depends on the music, the ensemble, and the acoustics of the performance space.
This is also an opportunity to develop your musical confidence. Learning when to play prominently and when to blend is just as important as mastering the instrument’s high notes.
9. Choose the Right Piccolo for Your Needs
If you’re serious about learning piccolo, your instrument can affect your comfort and progress.
Student piccolos are often designed to be accessible and durable, while professional instruments may offer different materials, construction, and response characteristics. Wood and synthetic materials can have different playing characteristics, and the best choice depends on your needs, budget, and playing environment.
Before purchasing a piccolo, consider:
- Your current playing level.
- Whether you’ll primarily play in school band, marching band, orchestra, or another setting.
- The instrument’s response and intonation.
- Your budget and maintenance needs.
- Guidance from your band director or a qualified flute specialist.
If possible, try several instruments before making a decision. A piccolo that feels comfortable and responds well to your playing is often a better choice than selecting an instrument based on brand name alone.
You may also find these resources helpful: Best Flutes for Advanced Students and Flute Brands Explained. Although these articles focus on concert flutes, they can help you think about instrument quality and choosing an instrument for your needs.
10. Be Patient with the Learning Process
The transition from flute to piccolo takes time. Even accomplished flutists may need to work on tone, intonation, and control before feeling comfortable with the smaller instrument.
Don’t compare your first few weeks of piccolo practice with the sound you produce after years of playing flute. You’re learning a new set of physical adjustments, and those skills develop through consistent practice.
Set small, measurable goals. You might aim to produce a steady middle-register tone, play a familiar scale accurately, or perform a short passage with reliable intonation.
Celebrate those improvements. They are the foundation for more advanced playing.
If you’re a student, ask your band director or private flute teacher to listen to your piccolo tone and offer feedback. An experienced teacher can often identify an embouchure or air-direction issue much more quickly than you can identify it yourself.
Most importantly, keep your practice focused on musical results rather than simply reaching the highest possible note. A beautiful tone, accurate pitch, and confident musicianship will serve you far better than range alone.
Final Thoughts
Learning piccolo is a rewarding next step for concert flutists who want to expand their skills and explore new musical opportunities.
Your flute background gives you a strong foundation, but success on piccolo requires patience, focused air, a flexible embouchure, careful attention to intonation, and regular practice.
Start with comfortable notes, build your technique gradually, and learn to listen closely to the sound you’re producing. With time, you’ll become more confident switching between the two instruments and contributing to the music in new ways.
Whether you’re preparing for your first school band performance or adding piccolo to your professional musical skills, remember that good technique develops one practice session at a time.
Keep practicing, keep listening, and enjoy discovering what the piccolo can do.
Explore more flute education, instrument guides, sheet music, and musical resources at The Country Flutist.

You Might Also Like: